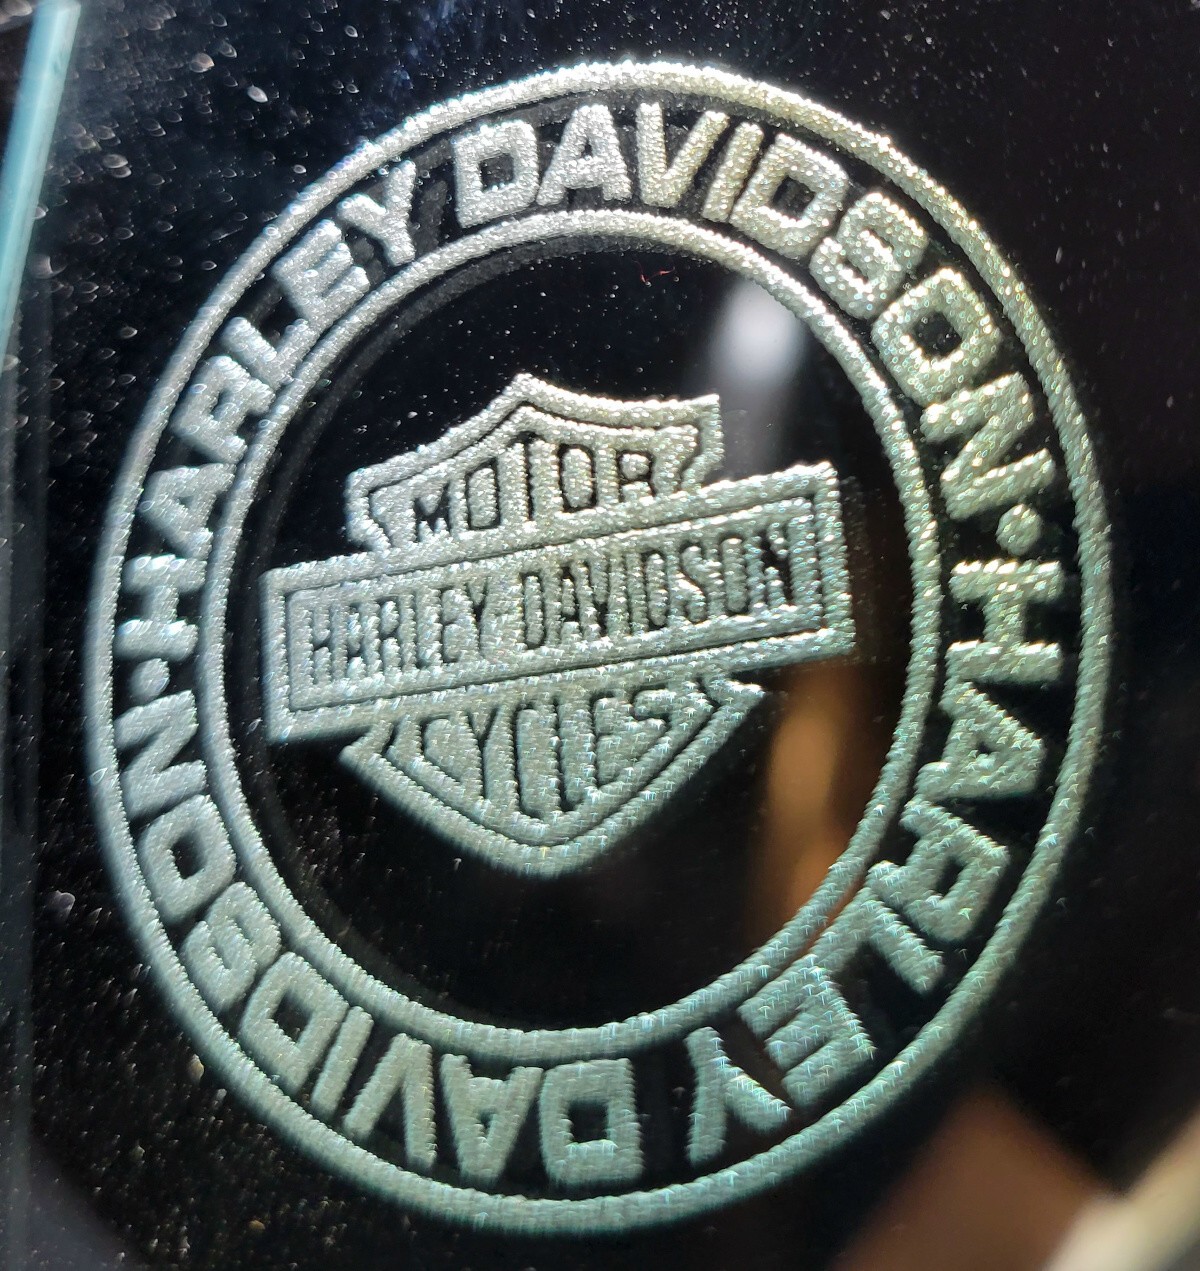
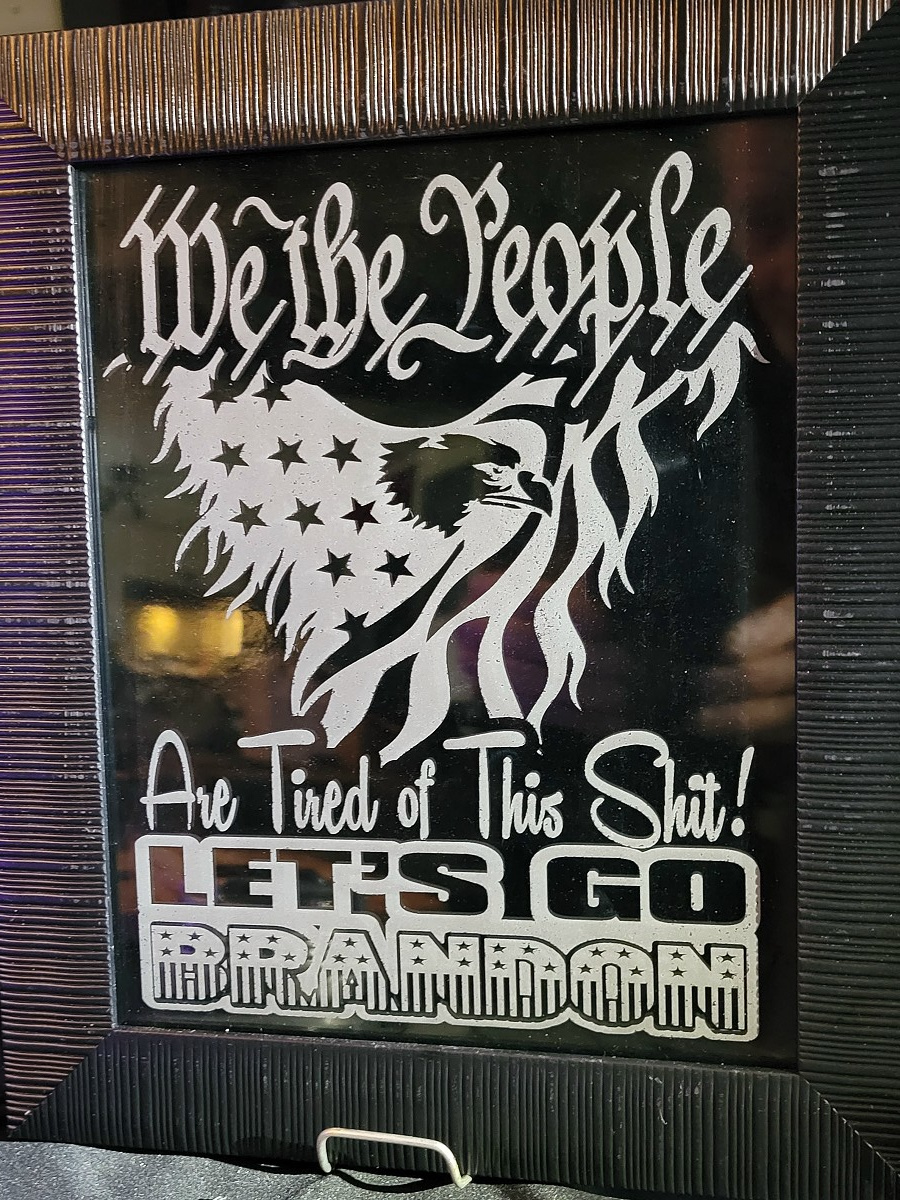
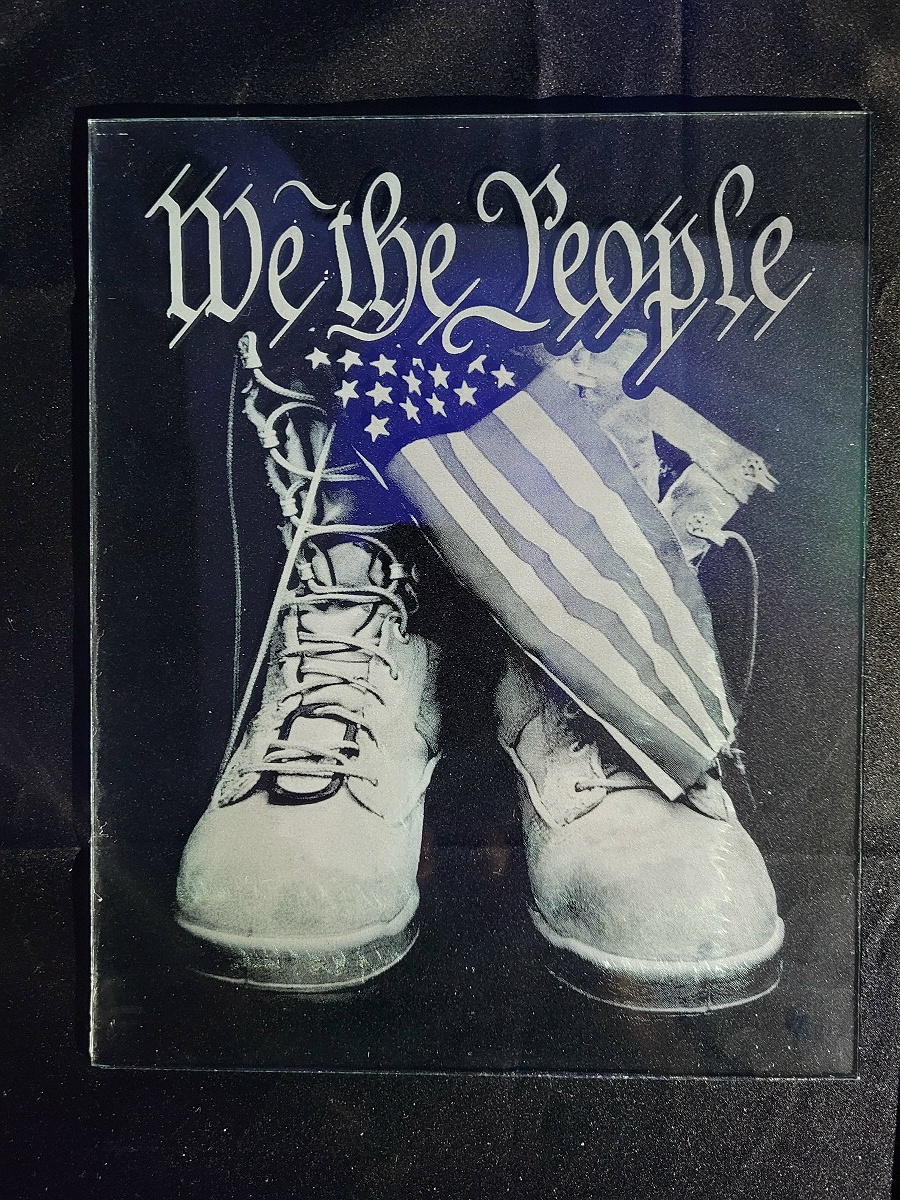
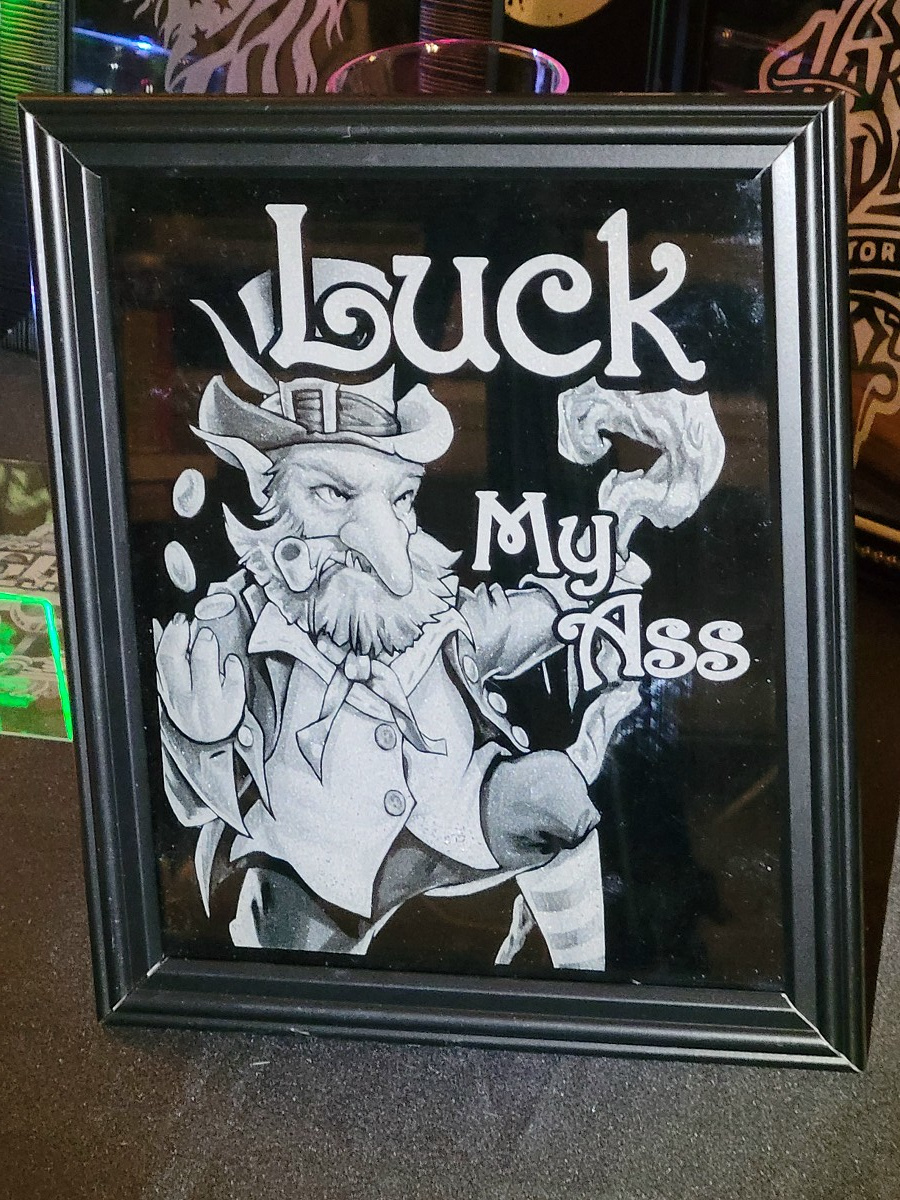
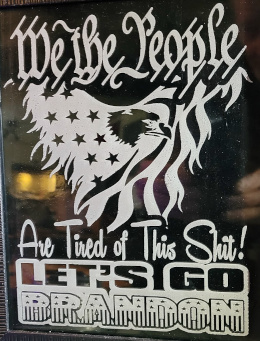
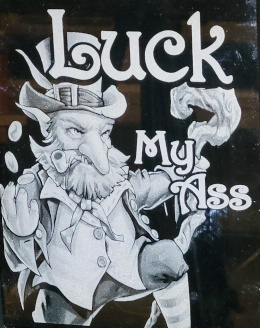
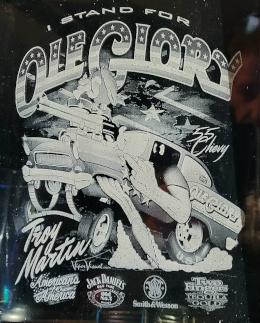
Solid Graphics/Logos
On Flat Glass Examples

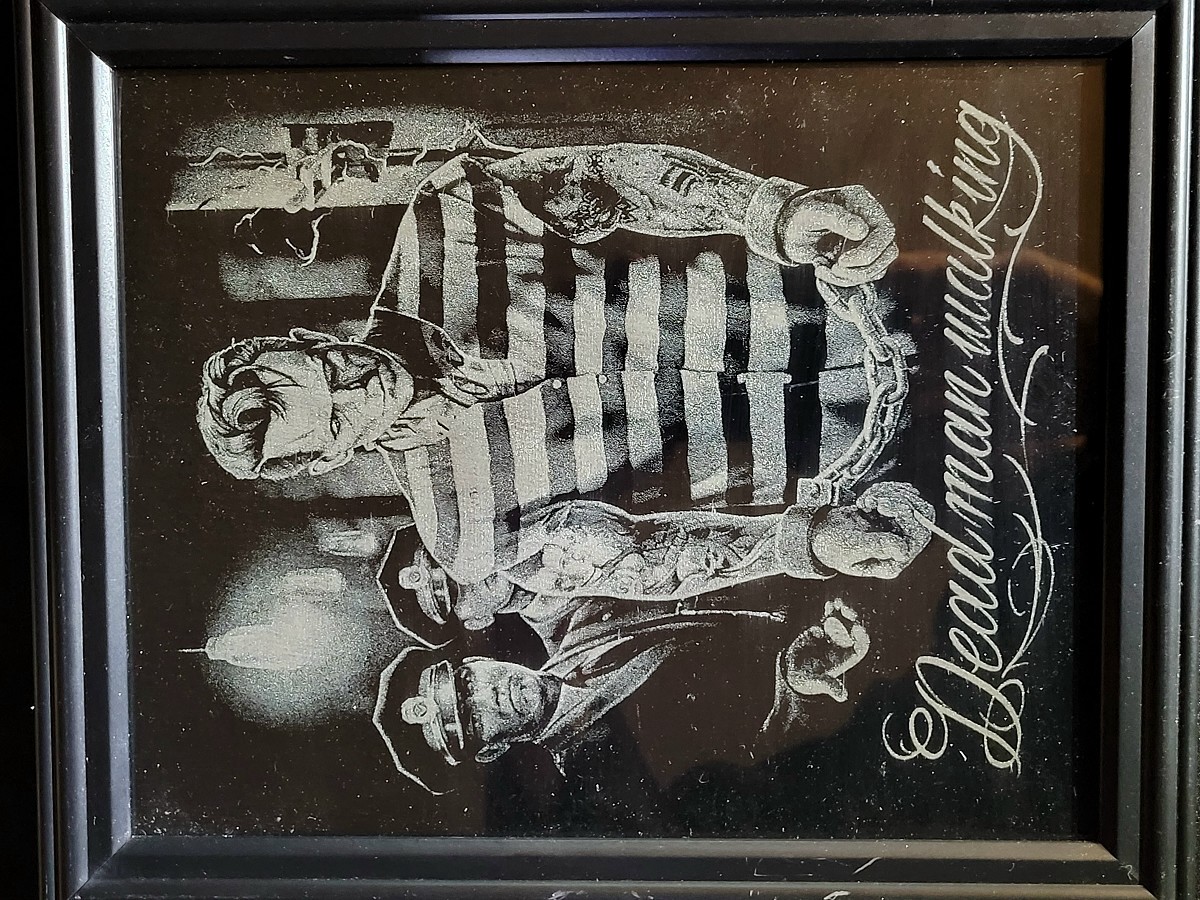
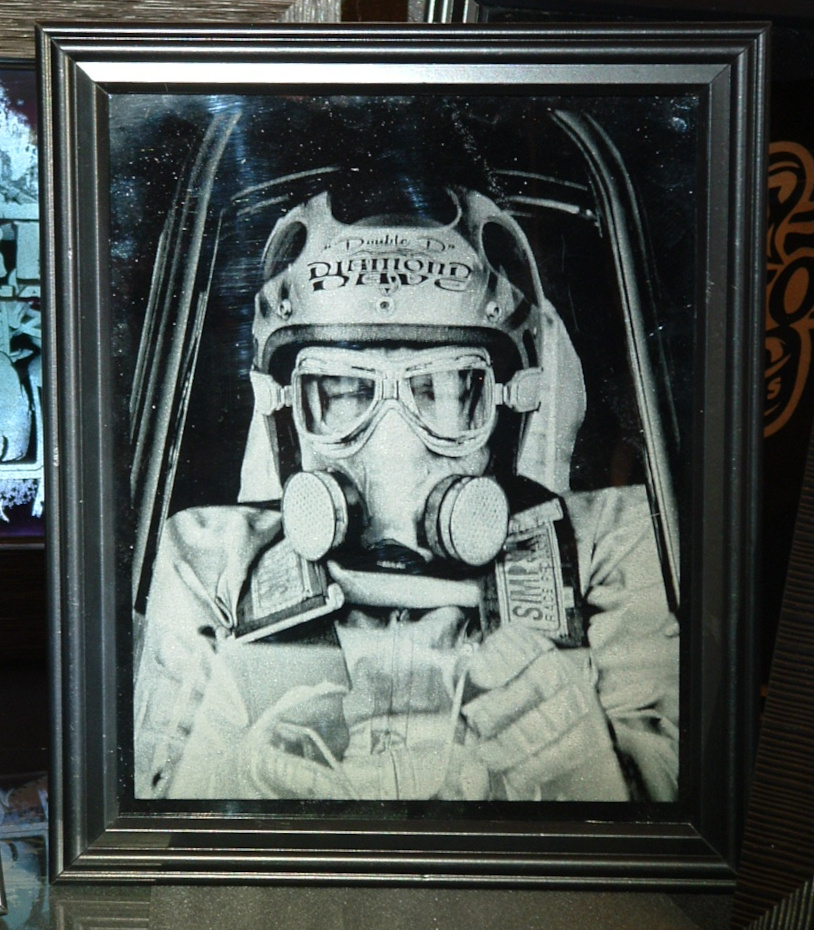
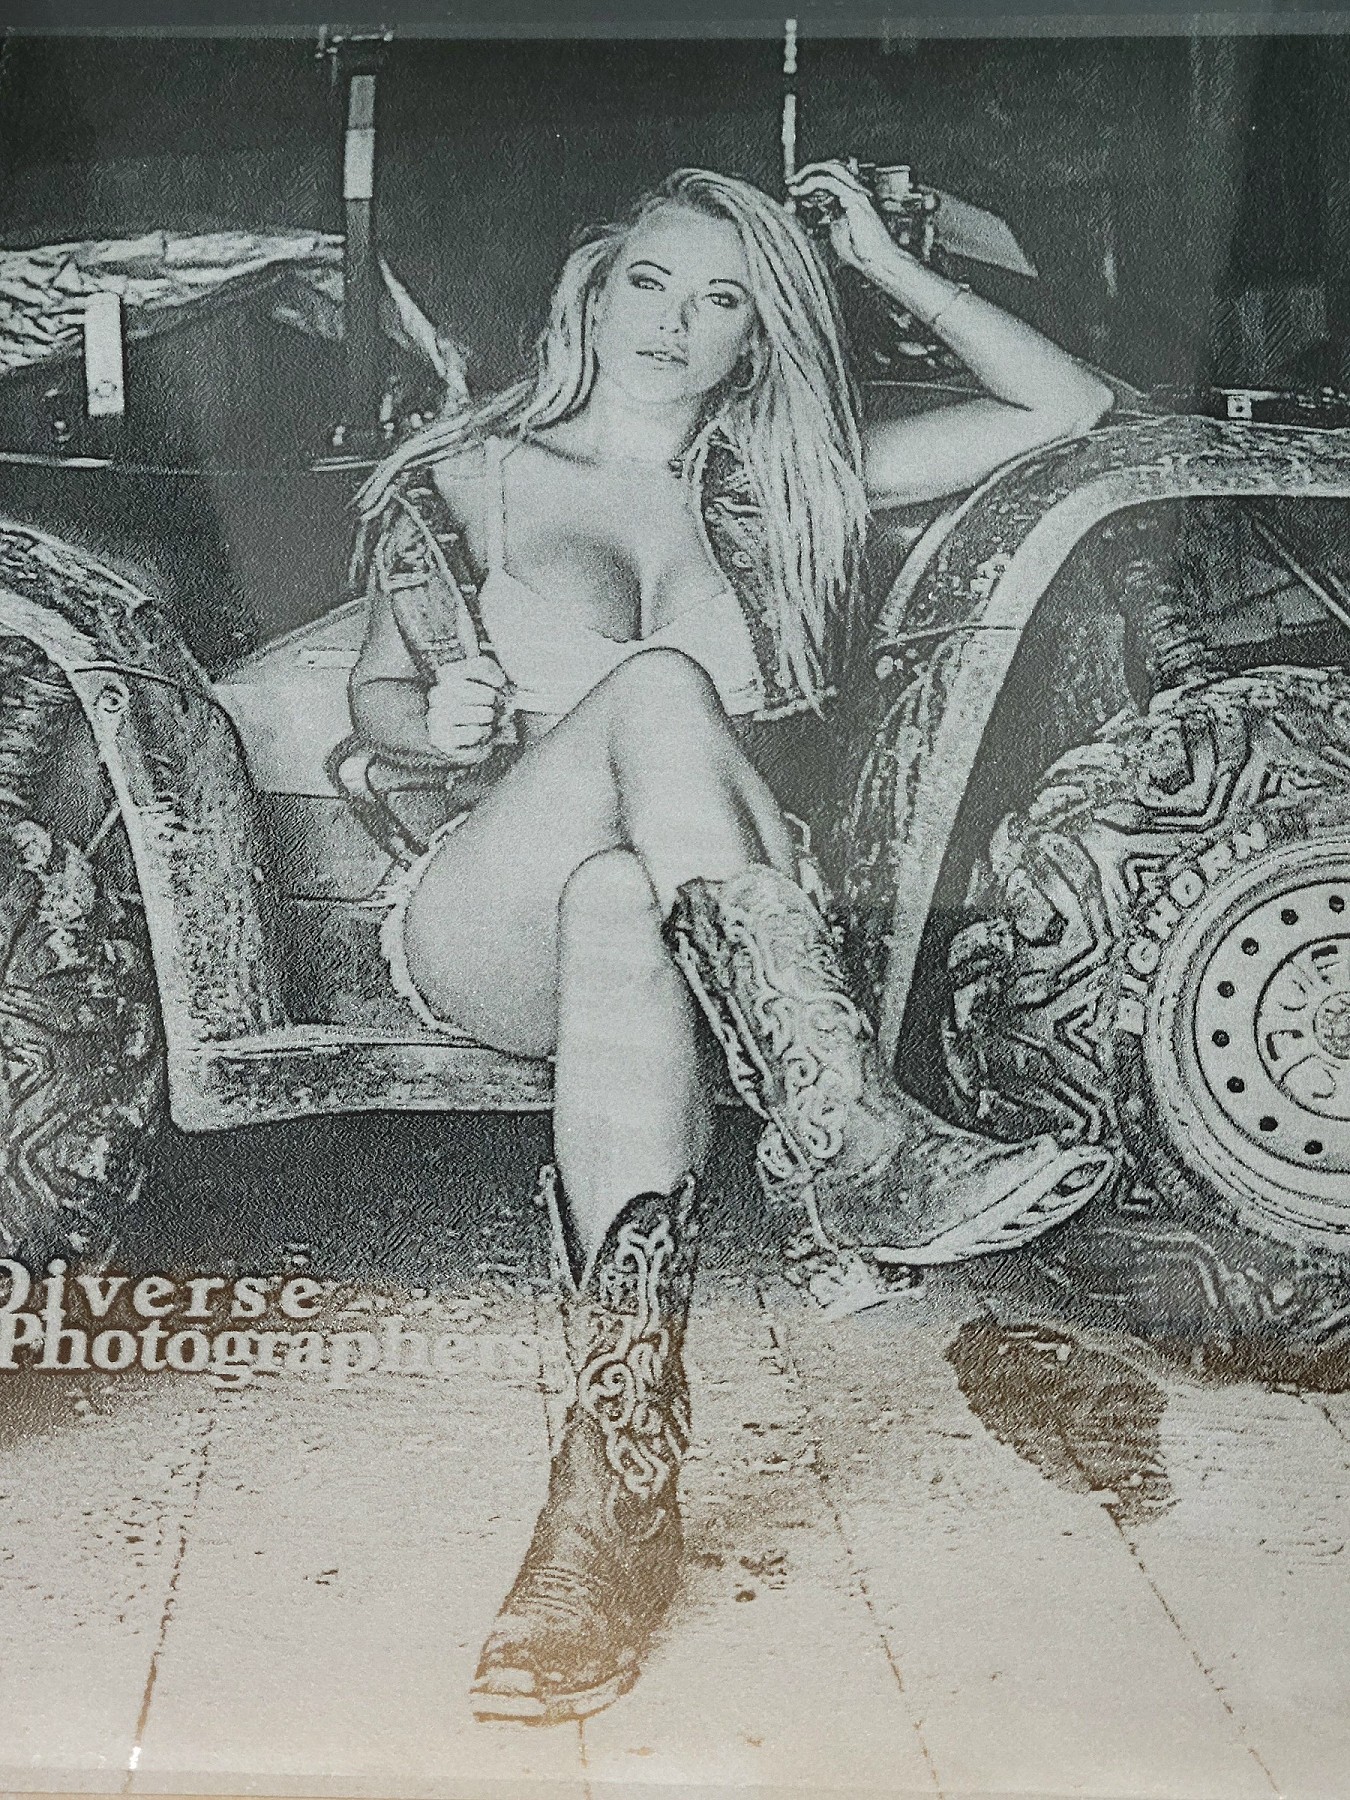
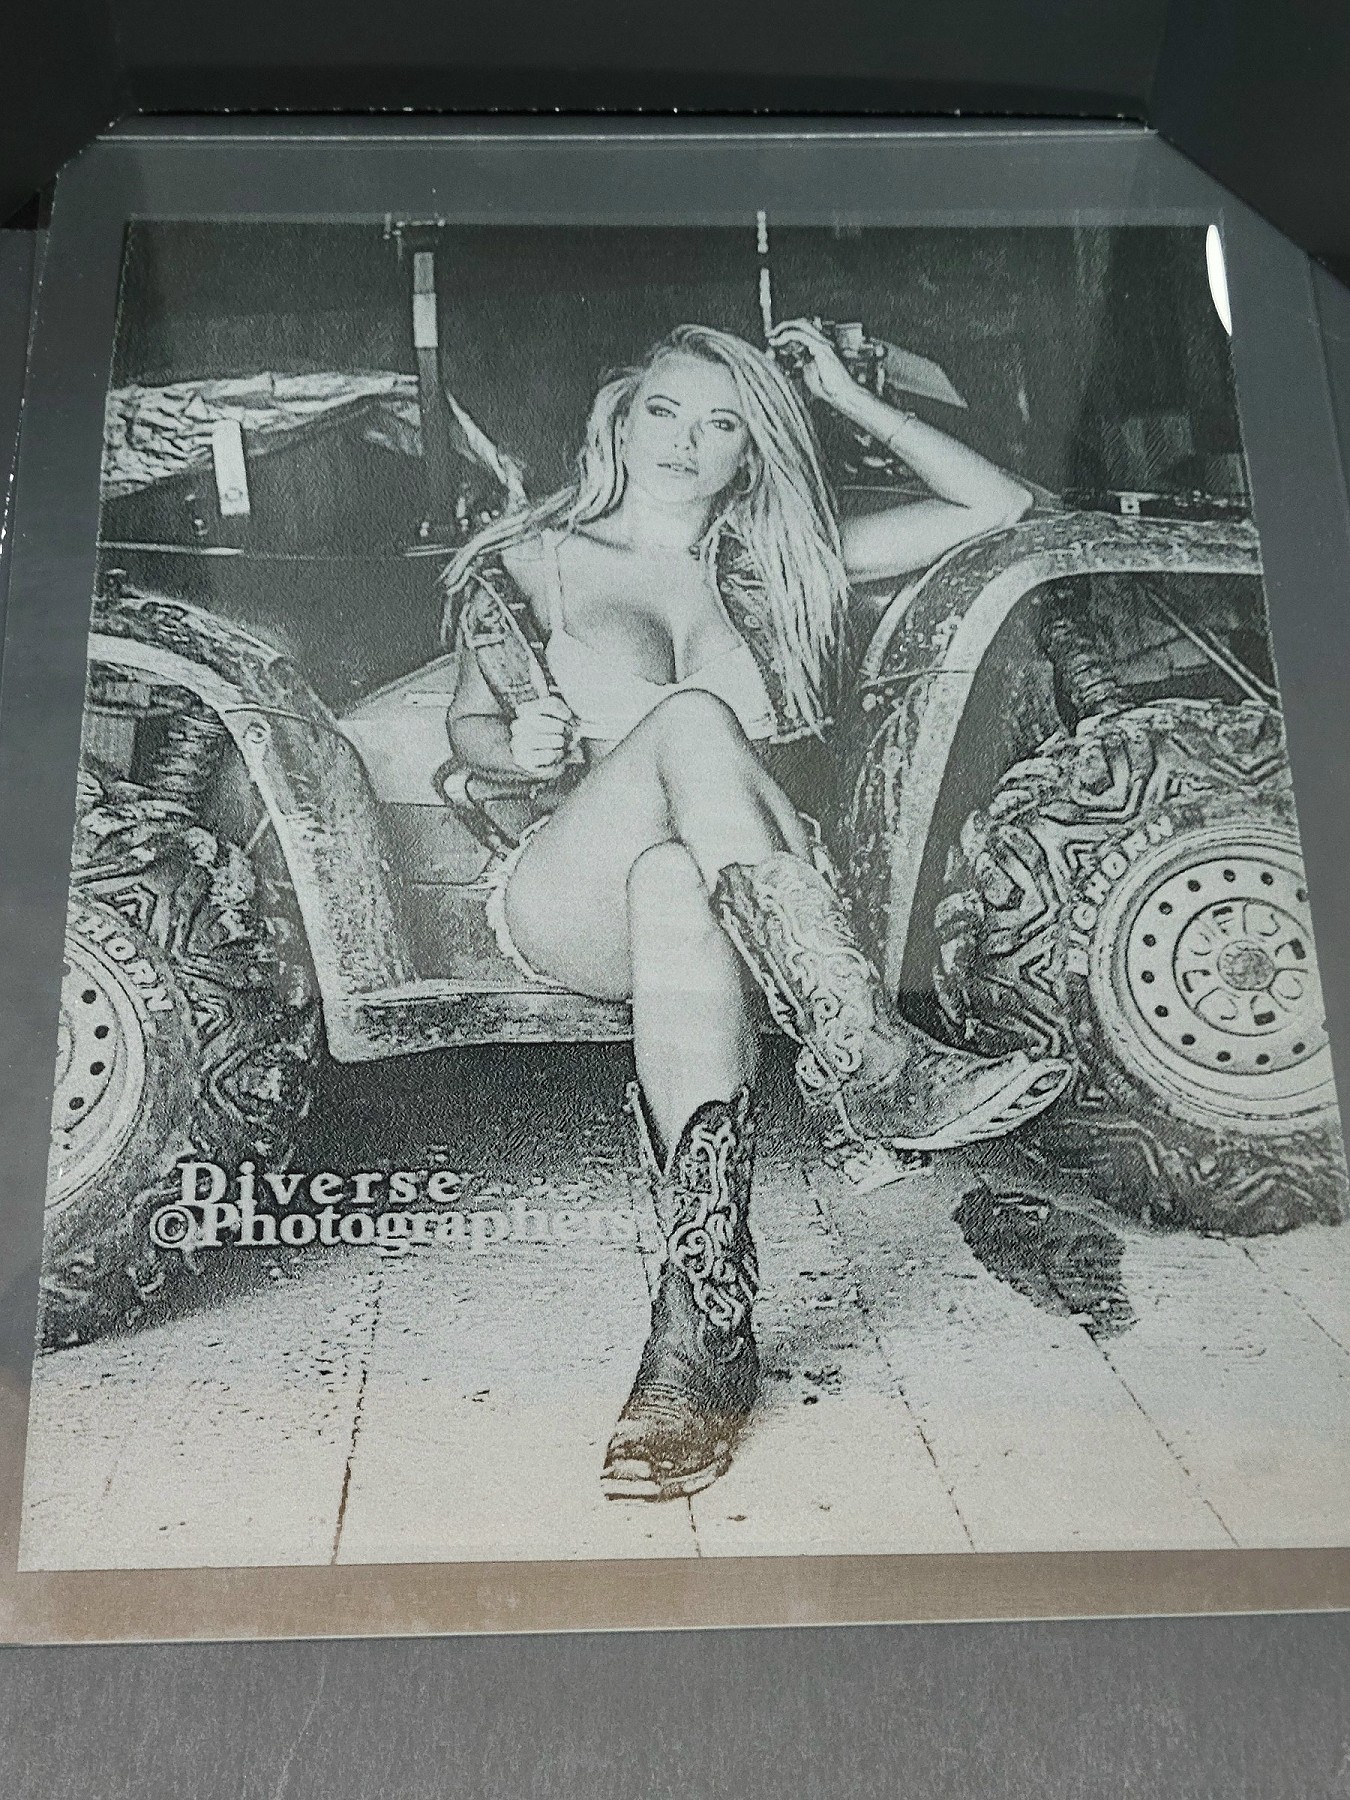
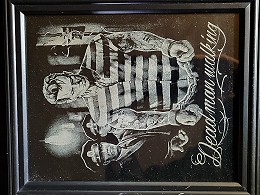
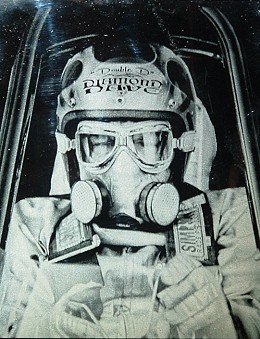
More Photo Glass
|
 'Glass on the Fly' is an alternative way of engraving on glass or acrylic.
You don't have to do any painting or masking.
Lay your glass on a '
Backer Material' and you are ready to go.
The PenGear Posterboard is working real well with this.
The engraving is done on the BACK SIDE of the glass in between the glass and the backer.
Mirror(flip side to side) your images if you want the engraving on the front when finished.
The steps and setting below are what I used to create this.
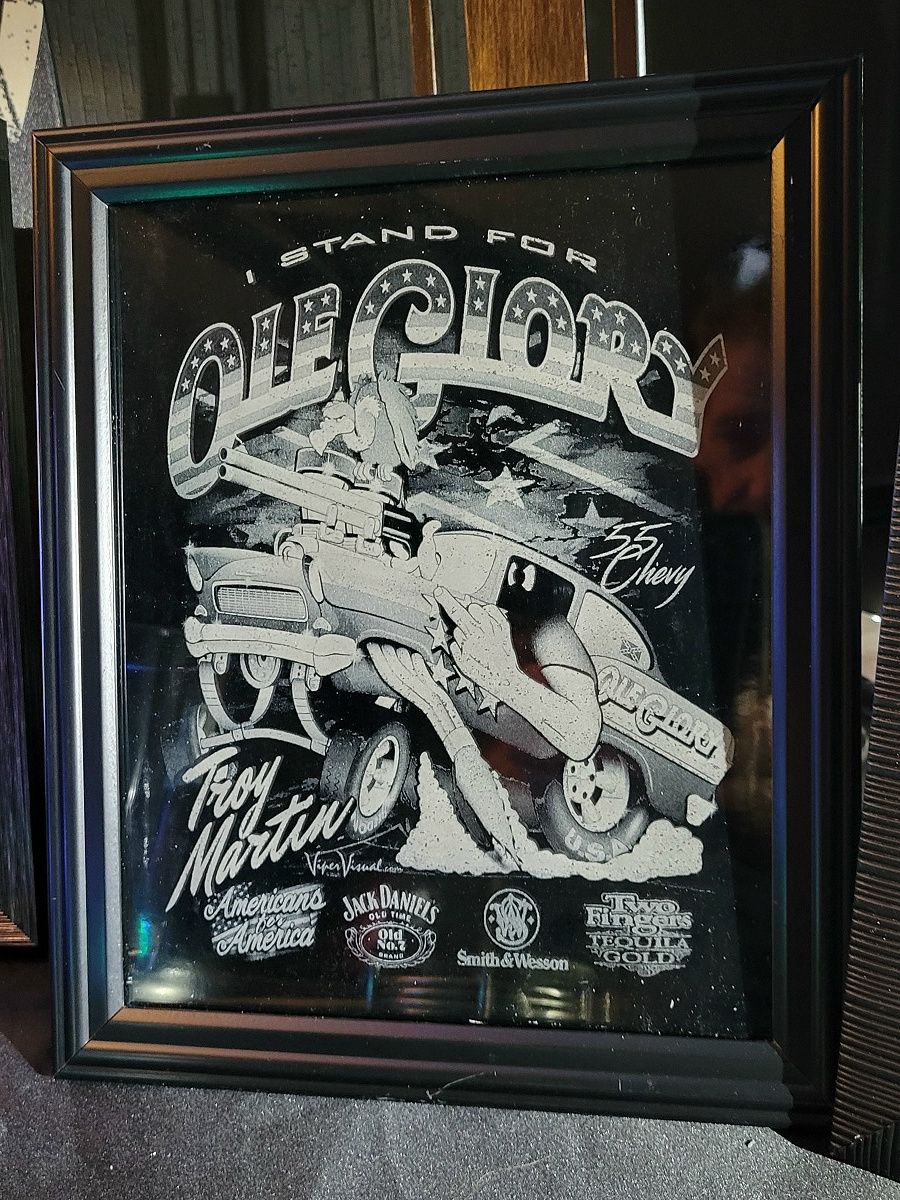
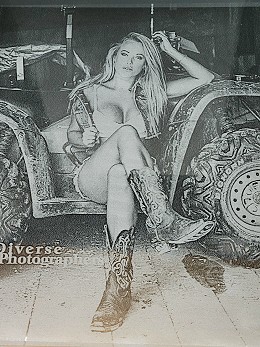
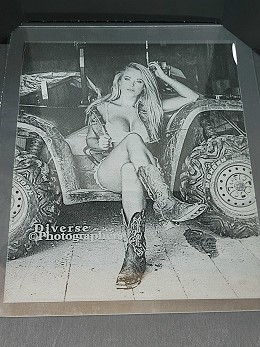
That is an actual photograph etched in glass.
I did some Pre-Editing in Gimp then used  with an xTool D1-10w with an xTool D1-10w
Clean glass good with glass cleaner or isopropyl alcohol.
Apply a thin coat of dish soap on one side of the glass.
Don't worry about diluting the dish soap.
Just a few drops straight from the bottle is all it takes.
One very thin and even coating is all you need. You can go back over it needed.
Streaks or uneven places won't effect the engraving unless there are still big wet spots.
Large soap spots will soak into the backer and the burn won't be as even.
I only use soap on graphics 5" x 7" or larger.
Most graphics will engrave fine without it. If your graphic has a lot of burn
in one area, you may get smoke stains without it.
Soap is just a good safety precaution and helps with cleanup.
It's up to you.
Let Soap Dry About 5 min.
Let dry until there aren't any wet spots that may get absorbed into the backer.
It doesn't take much. One thin coat will do.
Place backing material on table. ** Surface must be flat!!!
This is where most people are having problems.
Flat means FLAT! Surface must be AS FLAT AS THE GLASS.
Trying it on a honeycomb, wire rack or piece of cardboard,, will not work.
Glass needs to lay flat without any air gaps.
Any holes or uneven places in your surface will not push the backer tight
against the glass in that spot and it will not engrave correctly if at all.
I am using a laminated shelf board that was left over from an IKEA project.
Anything flat and solid. Just a piece of sheet metal may not stay flat enough.
Focus your laser to the top of the Poster Board BEFORE putting the glass or mirror down. Use the height adjustment tool like normal.
BE SURE TO 'MIRROR' YOUR GRAPHIC!
You are engraving the back of the glass or mirror. The image will need to be 'Mirrored' or 'Reversed' so it looks right on the front. The graphic will be backwards if you don't.
Check your glass temperature.
A blow dryer is a good idea to keep around when doing glass.
Just cleaning the glass will lower the temperature dramatically.
There is a good chance of cracking the glass if it is too cold.
Glass should be close to room temperature for engraving.
Place glass, soap side(Glass Side) down, on top of the backing material.
You are making a soap sandwich you could say.
Glass on top, backer on bottom with the soap in the middle.
Center and Frame your graphic.
Overscanning - Off
Line Interval .080 (317 dpi)
Speed: 80mm/s
Power: 60%
I should have gone with 70% Power on this one, but it still looks great!
I do most glass engravings at 80mms for speed,
I use 60% to 80% power depending on the graphic and the quality of the glass.
I use Atkinson for the Image Mode. I think the dithering helps with the engraving effect.
You can use any image mode you prefer.
I do not put anything directly on the glass to hold it down.
I use a couple scrap pieces of glass, one on either side,
to hold it in place just in case the head gets the jitters during the burn.
You can put a small weight on them. Make sure the head won't hit it.('Frame' it).
There is no need to use air assist with this method of engraving glass.
Hit Start.
For LARGER glass WITH soap.
Clean with Goof Off. It works the best and you can watch it spray down to the white.
It will take a few sprays and wiping with a clean cloth.
Use a Magic Eraser to really get it clean and make the white pop.
For SMALLER glass WITHOUT soap.
I just use plain 'ole water and lightly scrub it with an old tooth brush
It cleans right up. I put tap water in a small, flat, plastic container and keep it near by.
Give the glass or mirror a second or two to cool before putting it in water.
It did just lay there and get zapped by a laser. Has to be holding back some heat.
No need to risk shocking it with cold water.
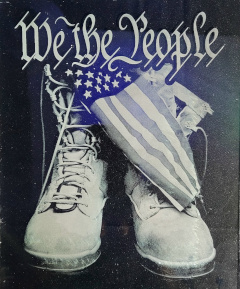
A glossy black background will help the engraving show up better..
Some people spray paint the back black. I use a piece of gloss black sign makers vinyl
cut to the same size as the glass and still stuck to the backing paper.
Lay it on top of the glass before putting the back on the frame.
I do hope you like this method and find it useful! Give it a try! It is That Easy!
Good Luck!
Would love to hear your comments.
Message or email me your photos or comments.
Click on my name below to send an email.
|
|
All of the glass pictured was done with a D1 - 10w Laser from

The steps are the same for any other laser.
Some of the settings may need adjusting.
|
Photo Glass Examples
|